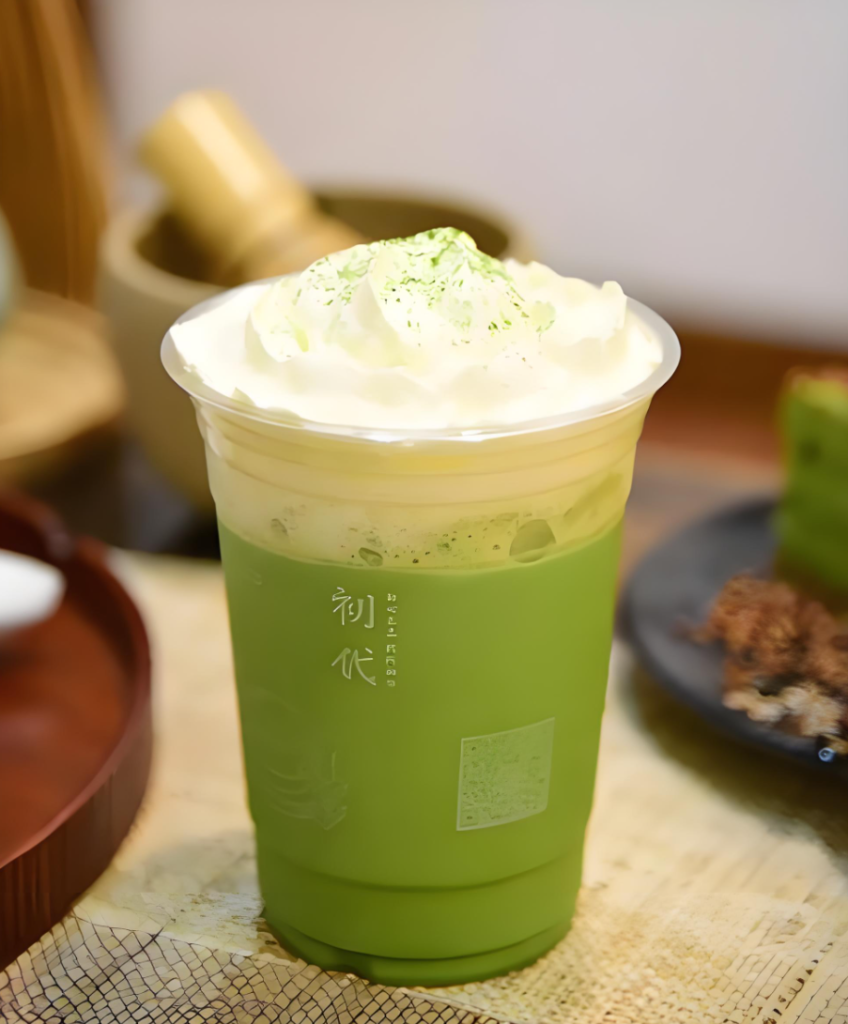
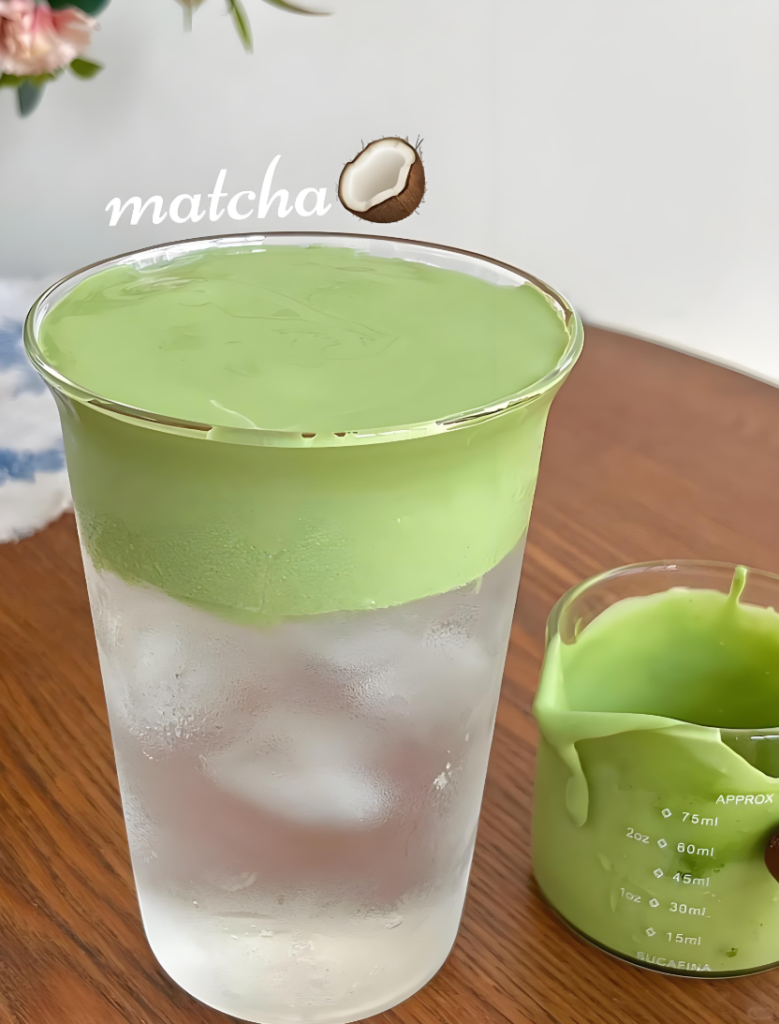
Cheese foam matcha is one of those drinks that looks easy: green milk tea, a thick cap, done.
In a real shop, it’s where little inconsistencies show up fast:
the foam slides down the side of the cup mid-service
it tastes too salty on one day, too sweet the next
the matcha turns gritty or bitter after sitting
This guide is for operators who want a version you can train once and run all season: stable, pourable foam + matcha that stays smooth + a 16 oz build you can execute quickly (boba optional).
What “stable cheese foam” really means (and what it doesn’t)
In most bubble tea shops, “cheese foam” (also called milk cap) is a whipped topping that’s thick and glossy, holds a soft peak briefly, and still pours so it floats into a clean cap.
BubbleTeaSuppliers describes the target texture as foam that’s thick, glossy, briefly holds a soft peak, and is still pourable enough to drizzle and spread into a cap on an iced drink (roughly 1–1.5 cm) in their shop SOP for cheese foam milk tea.
Here’s the operator-friendly definition:
Stable = it stays cohesive (doesn’t split into watery whey + clumps) and doesn’t collapse into a puddle.
Pourable = you can spoon it or squeeze it onto a drink quickly without it “plopping” like frosting.
Floatable = it sits on top long enough for the customer to sip through the cap.
Pro Tip: If your foam is “perfect” in the bowl but sinks the second it hits the cup, it’s usually too thin or too warm (or both).
The 6 variables that make cheese foam hold during a rush
If you want consistency, stop thinking “recipe” and start thinking “variables.” These are the levers that decide whether your foam behaves.
1) Fat + body (why heavy cream matters)
Classic cheese foam relies on cream cheese for tang and structure plus cream for volume and a stable mouthfeel.
In practice, the biggest stability jump comes from using the right kind of cream and keeping it cold.
2) Smooth emulsion (no lumps before you whip)
Lumps don’t disappear when you whip—they just become floating grains that drain liquid faster.
Operational rule: your base must be completely smooth before you aerate.
3) Temperature control (cold foam is stable foam)
Foam needs the fat phase to behave. Warm ingredients whip inconsistently and separate faster.
Rush rule: keep foam in a cold well or rotate a small container from the fridge instead of keeping the whole batch on the counter.
4) Salt balance (a “finish,” not a flavor wall)
Cheese foam should read sweet first, salty finish, not like a savory dip.
If you’re having “too salty” complaints, it’s often not the salt amount alone—it’s that the drink beneath is too low-sweetness or the matcha is too bitter, so the salt pops harder.
5) Aeration level (soft peaks beat stiff peaks)
Stiff foam looks great for photos and performs poorly in service.
You want soft peaks: it holds shape briefly, then relaxes slowly.
6) Optional stabilizers (when you need an insurance policy)
Some shops add small amounts of stabilizers or emulsifiers to help prevent separation—especially if you batch larger quantities.
A useful way to explain this to staff is emulsification: sodium citrate is a common “emulsifying salt” used in cooking to help keep cheese mixtures from breaking under heat or stress. Serious Eats explains the concept in their article on using sodium citrate for stable cheese emulsions
You don’t need to turn your shop into a lab. Just know:
If your foam breaks often, focus first on cold temp + smooth base + correct aeration.
If you still struggle, a controlled stabilizer approach can help.
A shop-friendly cheese foam method (built for speed)
If your team is looking for a “cheese foam (milk cap) recipe,” treat this as your process template — it will stay consistent even when brands of dairy vary.
This is a technique guide, not a single “forever ratio,” because different cream cheeses and creams behave differently.
That said, a reliable workflow looks like this.
Step 1: Smooth the base first
Start with softened cream cheese.
Mix in sweetener until it’s completely smooth.
Add salt and mix again.
Do not whip yet.
Step 2: Build body with cream
Add cold cream and mix until the base turns glossy and thick.
Step 3: Adjust to pourable with milk
Add milk in small increments until it hits “slow ribbon” consistency.
DreamyCup describes aiming for a soft whipped-cream-like texture and adjusting milk if it becomes too stiff in their guide to perfect cheese foam for milk tea
.
Step 4: Store and serve like an operator
Portion into a smaller service container.
Keep the backup batch refrigerated.
If it tightens in the fridge, do a quick re-whisk to restore gloss.
⚠️ Warning: Cheese foam is a time/temperature-controlled dairy ingredient. Label batches and follow your local food-safety rules for cold holding.
Matcha that works in milk tea: what to buy (and what to avoid)
Cheese foam matcha milk tea has two strong flavors competing:
matcha (earthy, sometimes bitter)
cheese foam (sweet + tangy + salty)
The wrong matcha disappears or turns harsh.
What you’re looking for in “latte-grade” matcha
For milk drinks, you need matcha that:
has enough body to cut through dairy
doesn’t taste aggressively bitter when concentrated
stays a clean green color when mixed correctly
BubbleTeaSuppliers breaks down selection factors in their guide on how to choose matcha powder for your bubble tea shop.
A practical shop test:
Make a small matcha slurry and taste it.
Then make a mini latte. If it’s thin and grassy in milk, it will get lost under cheese foam.
Matcha prep that stays smooth (and doesn’t slow you down)
Matcha doesn’t “dissolve” the way sugar does. You’re suspending fine particles.
That’s why workflow matters.
The fastest reliable system: pre-sift + pre-dose
Rishi Tea recommends sifting to prevent clumps and even suggests adding pre-sifting to shift prep for speed, plus using water cooled to 160°F (about 71°C) in their guide to matcha at fast-paced cafes and restaurants
.
Operator version:
During prep, sift matcha.
Pre-dose per drink in small containers.
During service, you’re building, not measuring.
Water temperature: hot enough to mix, not hot enough to burn
A lot of bitterness issues are just temperature problems.
Use warm water (not boiling). A café-style method typically stays around ~75–80°C for mixing, as outlined in Maison Genkai’s matcha latte method
.
Whisk method (or frother) for clump-free slurry
If you’re training new staff, this is the core of how to whisk matcha so it stays smooth in milk tea.
Sift matcha into your bowl/cup.
Add a small amount of warm water.
Whisk in a fast zigzag (“W”) motion until smooth.
If you’re running volume, an electric frother is often the most consistent “staff-proof” tool.
16 oz Cheese Foam Matcha Milk Tea build (boba optional)
Matcha milk tea recipe baseline (so the foam makes sense)
When shops search for a matcha milk tea recipe, they usually get home-style measurements. In service, you want a baseline that’s easy to train:
Matcha is prepared as a smooth slurry (sift + whisk)
Sweetness is set slightly lower than your best-selling milk tea (the cheese foam adds perceived sweetness)
Ice level is consistent every time so your matcha strength doesn’t drift
This is a shop build template. Adjust sweetness and tea strength to your menu.
A practical starting point and method is shown in The Viet Vegan’s dairy-free cheese foam approach
.
Option B: “Salted cream foam” (easier to execute)
If you’re struggling to mimic “cheese,” consider naming it honestly as a salted plant cream cap.
It’s often more consistent, and customers still get the salty-sweet contrast that makes the drink work.
Why dairy-free foams need help to feel “right”
Plant fats and proteins behave differently.
A peer-reviewed overview of dairy-free cheese ingredients notes common texture builders like coconut oil and starches/hydrocolloids (e.g., tapioca) to improve structure in non-dairy cheese systems (see this 2022 open-access review
).
In shop terms:
keep it cold
whip to soft peaks
if it drains fast, you may need a tiny viscosity assist
Troubleshooting: fix the 8 most common failures
1) Foam separates in the fridge
Likely cause: warm ingredients, insufficient emulsification, over-mixing after it sets.
Fix: chill harder, smooth the base better, re-whisk briefly before service.
2) Foam is too stiff to pour
Likely cause: too much aeration or not enough milk.
Fix: whisk in small splashes of milk until it ribbons.
3) Foam sinks into the drink
Likely cause: foam is too thin or drink is too warm.
Fix: thicken slightly; build over ice; keep foam cold.
4) Foam tastes aggressively salty
Likely cause: matcha base is too bitter or too low-sweet, making salt pop.
Fix: adjust base sweetness slightly; re-check salt measurement.
5) Matcha is gritty
Likely cause: not sifted, or slurry wasn’t fully whisked.
Fix: sift every time; use a frother; pre-dose.
6) Matcha tastes bitter
Likely cause: water too hot or ratio too heavy.
Fix: lower water temp; slightly reduce matcha dose.
7) Drink looks dull green
Likely cause: overheated water, old matcha, or poor storage.
Fix: cool the water; store matcha sealed, away from light.
8) Service is too slow during rush
Likely cause: you’re measuring during tickets.
Fix: pre-dose matcha; assign a foam station; use one portion tool.
Next steps (so you can train this fast)
If you’re building a cheese-foam matcha program, these BubbleTeaSuppliers resources will help you standardize faster:
BubbleTeaSuppliers’ shop SOP for cheese foam milk tea