
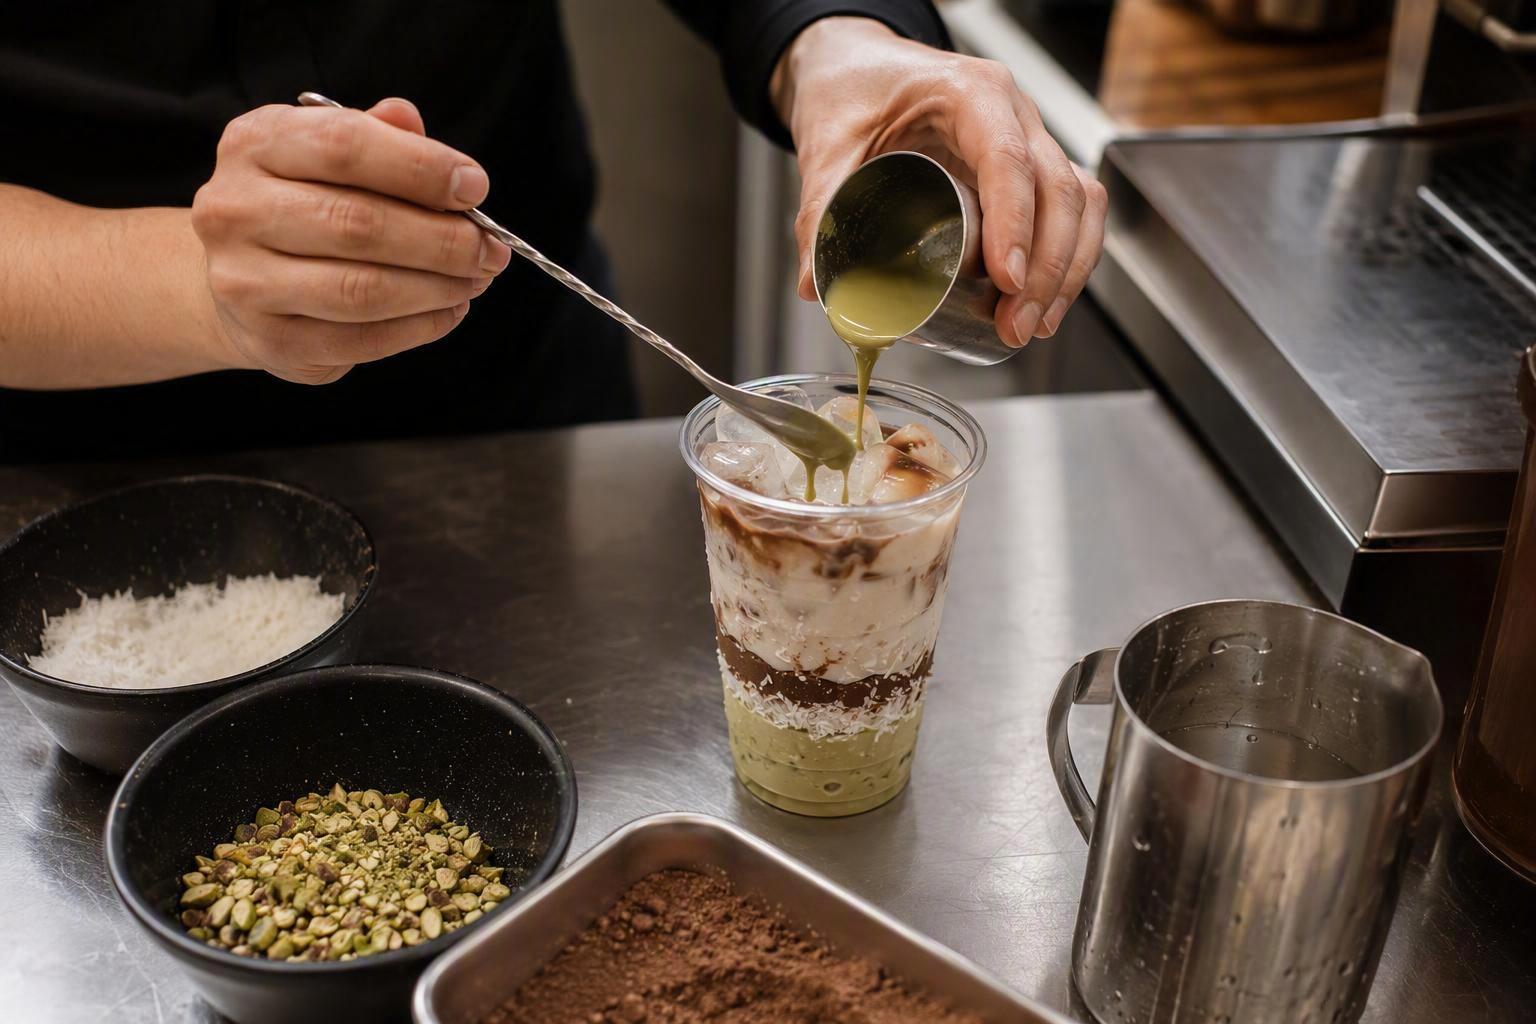
A layered pistachio chocolate coconut drink is one of the fastest-moving menu items in cafés right now, and most shops still build it by guesswork. That guessing costs you product, consistency and staff time: a barista free-pours the pistachio, the coconut separates, and two cups from the same recipe taste like two different drinks. This guide gives you two sellable build sheets, 16 oz and 22 oz, with locked ratios, prep steps, hold times and a verification checkpoint at the end of each build.
The drink works as three stacked layers. Pistachio carries the nutty top note, chocolate supplies the cocoa middle, and coconut milk forms the creamy base that holds the gradient in place. Demand supports the menu slot: the 2026 café drinks trend report, citing Pacific Foods, puts pistachio milk demand up 27.3% year over year, and the same report notes that layered drinks out-engage standard builds by 3 to 4 times on social. Allergen labeling follows FDA guidance, covered in Step 4.
Prerequisites: What You Need Before You Build the Pistachio Chocolate Coconut Drink
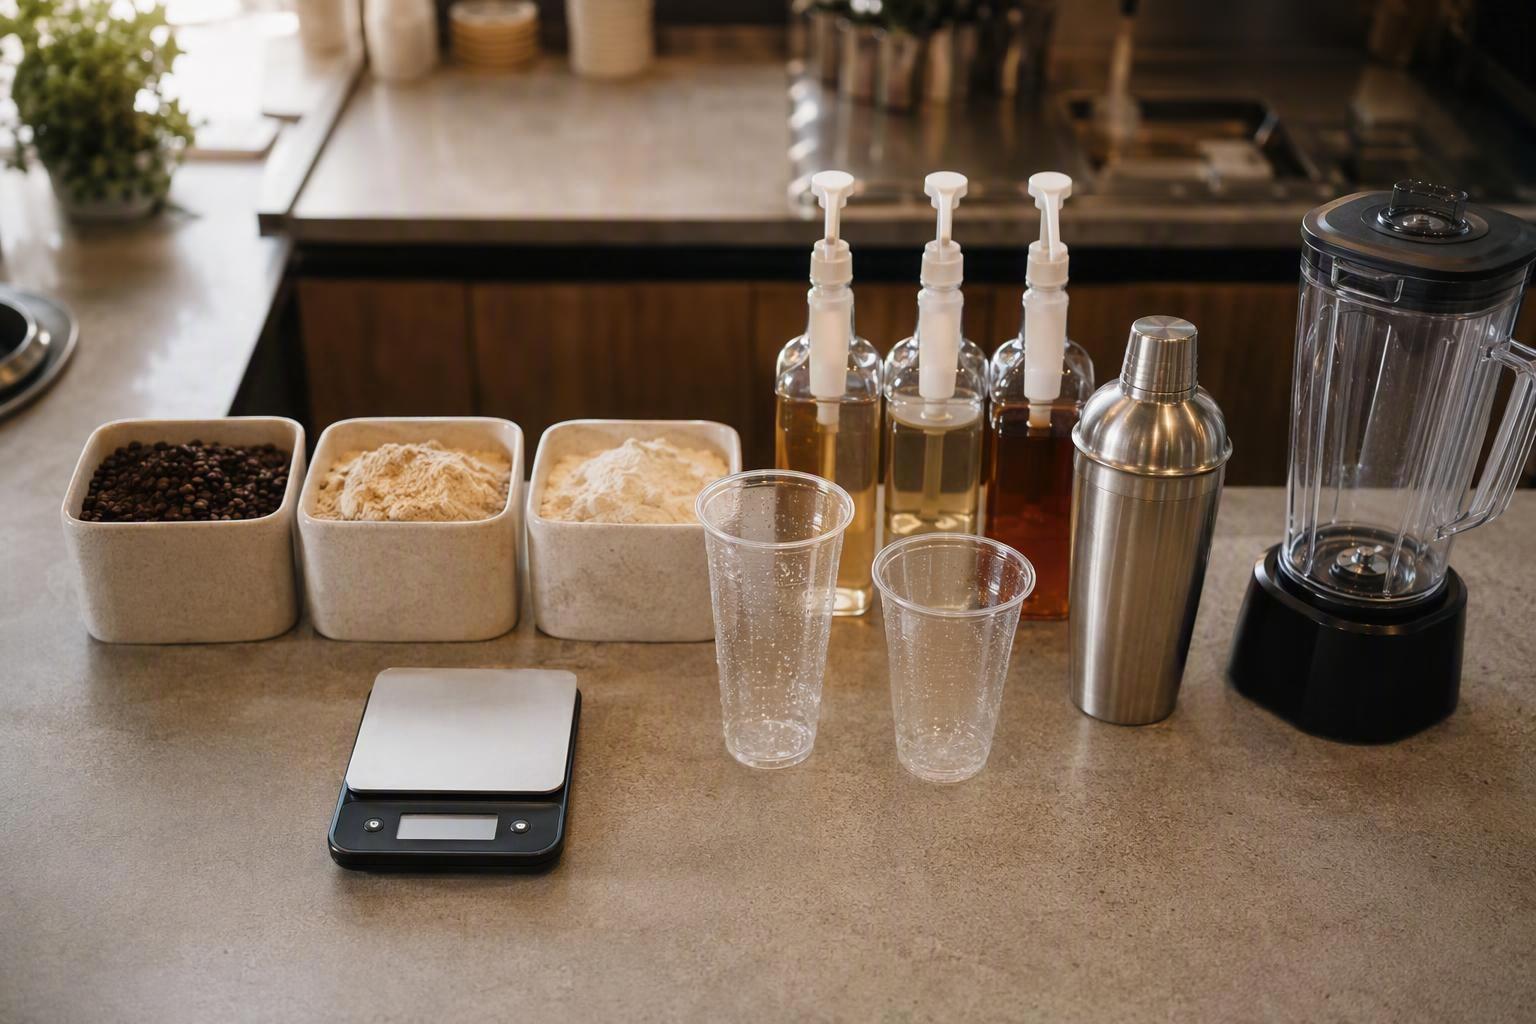
By the end of this checklist you will have every ingredient form, tool and label decision on the counter before you blend anything. Skipping it is the most expensive way to learn that a form does not work in a cold drink.
What you’ll need:
- Pistachio layer, in one form: syrup (fastest, most standardized, sweetness already built in), paste (near-pure pistachio, deeper flavour and full sugar control, but it needs better mixing), cream (a formulated sweet spread, ready to use, dessert-style), or finely ground pistachio (texture-forward, thicker body, visible speckling). Choice drivers are flavour intensity, sweetness control, texture and operations, per supplier guidance on pistachio paste versus cream.
- Chocolate layer: cocoa powder, syrup or couverture. Cocoa does not dissolve, it disperses, so it needs a hot pre-slurry or it blooms, clumps and settles (why cocoa powder needs slurrying in cold drinks).
- Coconut layer: coconut milk, barista coconut milk, cream, powder or syrup, following coconut milk powder usage guidance and curdling-prevention guidance for plant milks.
- Equipment: blender, shaker, 16 oz and 22 oz cups, scale, pump set, and boba or topping prep if you use it.
- Allergen controls: pistachio is a major tree-nut allergen and needs cross-contact controls; coconut is not a “Contains”-statement allergen under current FDA allergen labeling guidance.
Assumed knowledge: comfortable reading and executing a bar build sheet. Time: about 45 minutes for your first build and calibration. Difficulty: Intermediate.
Pro Tip: Lock the ingredient form before you lock the ratio. A paste build and a syrup build need different sugar and liquid adjustments, and changing form mid-calibration wastes both product and staff training time.
Step 1: Choose Your Three Layers and Lock the Ratios
By the end of this step you will have named one pistachio form, one chocolate form and one coconut base, and written the pump count or gram weight for each on a build card. That card is what makes the drink repeatable across shifts.
Pistachio layer. Pistachio syrup is the fastest and most standardized option: no mixing skill required, and the same pump delivers the same flavor every time. Pistachio paste gives the deepest flavor and full sugar control, but it needs more vigorous mixing to break down in cold liquid. Pistachio cream is ready to use and lands closest to a dessert profile, while ground pistachio is texture-forward and leaves visible speckling in the cup. For a shop running a small team, syrup or cream removes the most variables.
Chocolate layer. Cocoa powder disperses rather than dissolves, so it needs a hot pre-slurry before it meets cold milk. Chocolate syrup mixes easiest but carries the highest sweetness load of the three. Melted couverture gives the richest texture and the highest seize risk in a cold drink, so it only works if you temper your build order.
Coconut base. Coconut milk is the least reliable base for a coconut milk pistachio chocolate latte, because it separates and curdles most readily. Barista-style coconut milk is the most forgiving. Coconut cream gives the most body with the highest split risk, coconut powder is the most controllable once fully dissolved, and coconut syrup adds sweetness and flavor only: it cannot replace body.
Verify your result: without opening a recipe book, you can state the pump count or gram weight for all three layers. If you cannot, the ratios are not locked yet.
Step 2: Build the 16 oz Pistachio Chocolate Coconut Drink
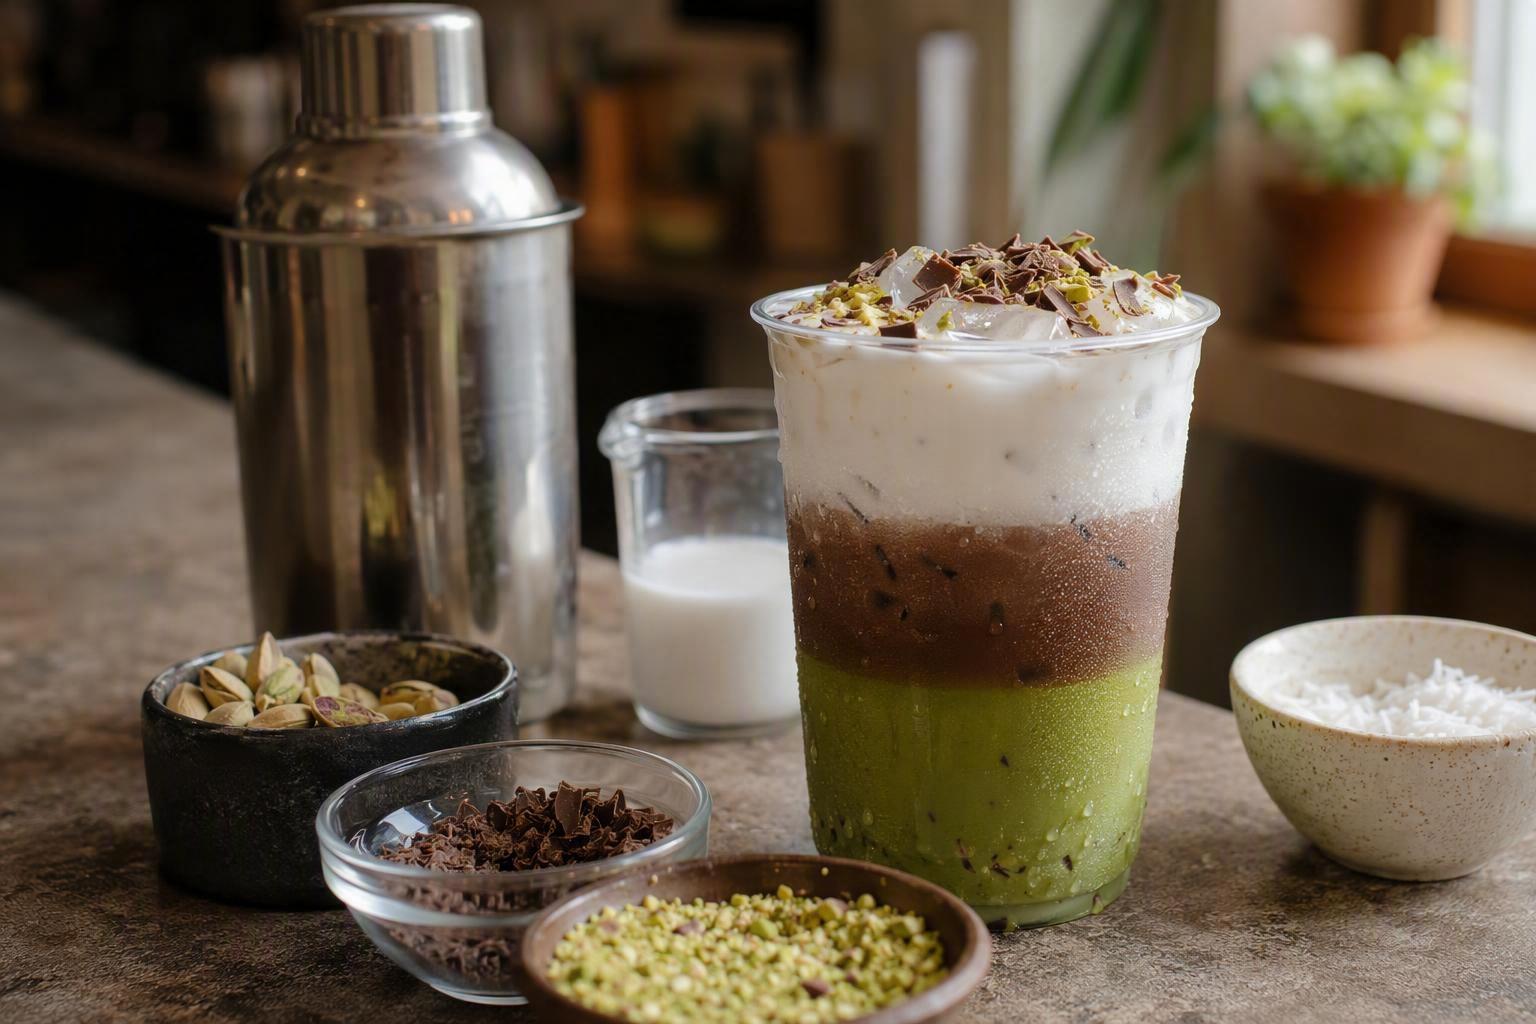
By the end of this step you have one finished, repeatable 16 oz cup: three visible layers, a clean pistachio note, and a build sheet any staff member can follow.
- Pre-slurry the cocoa. Whisk the cocoa powder into a small measure of hot liquid before it meets anything cold. Cocoa resists cold liquid and clumps; slurrying first is the standard fix, as explained in why cocoa powder needs slurrying in cold drinks.
- Build the coconut base to strength. Pour the coconut milk and sweetener over the slurry and stir until the color is even. If the base looks grainy or split, the problem is the base choice, not your stirring; curdling-prevention guidance for plant milks covers the stabilizer and temperature variables to check.
- Add the pistachio layer. Pour the pistachio syrup or paste down the inside of the cup so it settles below the coconut base. A small pinch of salt sharpens the pistachio and keeps it from reading as sweet only.
- Ice, then shake or blend. Hold roughly one part liquid to one part ice. A blended build tolerates coconut milk better than a shaken one because the ice is crushed into the liquid rather than rattled against it, which is why the pistachio chocolate frappe recipe format is the safer default for coconut bases.
- Pour in layer order. Coconut base first, pistachio second, chocolate drizzle last, so the three bands stay distinct in the cup.
Cost per cup: run the calculation from your own invoices. Add the coconut milk volume, cocoa, pistachio syrup or paste, sweetener, cup and lid, then divide by the cups that batch yields. That number, not a supplier estimate, is what your margin decision rests on.
Verify your result: taste for a pistachio note that survives the chocolate, check that the layers still read as three bands after two minutes, and confirm the texture is smooth rather than gritty. If the coconut base looks broken, change the base or its temperature handling; more shaking will not fix it.
Step 3: Scale to 22 oz and Set the Hold and Re-Shake Rules
By the end of this step you have a 22 oz build and a written hold time for every component.
Scale the cocoa slurry and the pistachio paste linearly: multiply both by 1.375 from the 16 oz sheet. Do not scale ice or sweetness the same way. Ice at 1.375x dilutes the drink past the point where the layers still read, and the coconut base turns sweeter as it sits, so hold the syrup back and add the last third at the cup.
Batch prep is what makes this work at peak. Whisk the cocoa slurry in a 1 L batch at open, keep it covered and stirred every 30 minutes, and portion the pistachio paste into single-cup ramekins so nobody measures mid-rush.
Coconut milk powder blends separate as they stand, so the base needs a re-shake before every pour (coconut milk powder usage guidance). Cocoa settles hardest of all, which is why the slurry gets a 10-second stir before each build (cocoa powder’s dispersibility problem in cold drinks).
Verification checkpoint: a 22 oz cup built from batch prep should match a freshly built 16 oz cup on taste and texture. If it reads thinner or sweeter, your ice ratio or your hold time is off.
For a cold-brew-style variant, the same arithmetic applies to a coconut chocolate cold brew drink, but cut the syrup by a quarter because cold brew carries less perceived sweetness than a milk base.
The band you are pricing into is wide. One 2026 cost guide puts a standard US boba drink at $5 to $8, with premium, large and topped orders pushing past that (Yiouyi, “How Much Is Boba Tea? 2026 Prices & Cost Guide”
, 2026). A separate ordering-platform breakdown shows a $4.50 to $7.00 band, paid toppings typically $0.50 to $1.50, and a size upgrade adding about $0.75 to $1.00 (bobasync, “How to Increase Your Average Order Value at a Boba Shop”
, 2026). Treat both as vendor illustrations of the market band, not as your costs.
Step 4: Handle the Allergen and Labeling Requirements
Pistachio is one of the nine major food allergens, so a drink built on it triggers the full labeling duty. The FDA’s January 2025 allergen guidance update (Edition 5, published January 6, 2025, replacing the 2022 documents) keeps pistachio on the tree nut list, which means your menu and packaged label copy must name it plainly: “Contains: pistachio.” Coconut is the exception operators get wrong in the other direction. It does not appear on the tree nut list in that same guidance, so it needs no “Contains” entry, though it still has to be named in the ingredient list by its common or usual name, as FDA’s food allergen labeling Q&A guidance sets out for tree nuts outside the list.
⚠️ Warning: Separate tools, a dedicated prep area, wash-rinse-sanitize between builds, color-coded utensils and allergy-ticket labels are industry cross-contact practice, not an FDA menu mandate. They reduce risk; they do not eliminate it, and no build can promise an allergen-free cup.
Verify your result: the menu line and label both name pistachio, and the cross-contact routine is written down where staff can follow it, not assumed.
Step 5: Position the Drink on the Menu and Pair the Toppings
A layered drink earns menu space when it is named, priced, and photographed as a signature rather than listed as another latte. The case for giving it that space is measurable: brik.ly’s 2026 Café Drinks Trend Report
found that visual gradient and layered drinks generate 3–4x more social engagement than coffee equivalents, which matters because guest photos are free distribution for a small shop.
Name it plainly and let the layers do the selling. “Pistachio chocolate coconut” tells the guest exactly what arrives, and the three visible bands are the reason the photo works. Price it in your signature band, not your standard latte band, and set one default topping so baristas build it the same way every time.
For the pistachio coconut chocolate boba drink, the toppings that survive a lid and a 20-minute delivery are the chewy, sink-to-the-bottom types: golden boba, honey boba, brown sugar boba, crystal boba, and classic tapioca pearls. Crystal boba holds its bite longest in cold liquid; tapioca pearls soften fastest, so keep them on a short hold and add them last.
Key Takeaway: A signature drink needs four things before it goes on the board: a name, a price band, a default topping, and a photo that shows all three layers.
Verification checkpoint: the drink has a name, a price band, a topping default, and a photo that shows all three layers.
Step 6: Avoid the Mistakes That Break This Drink
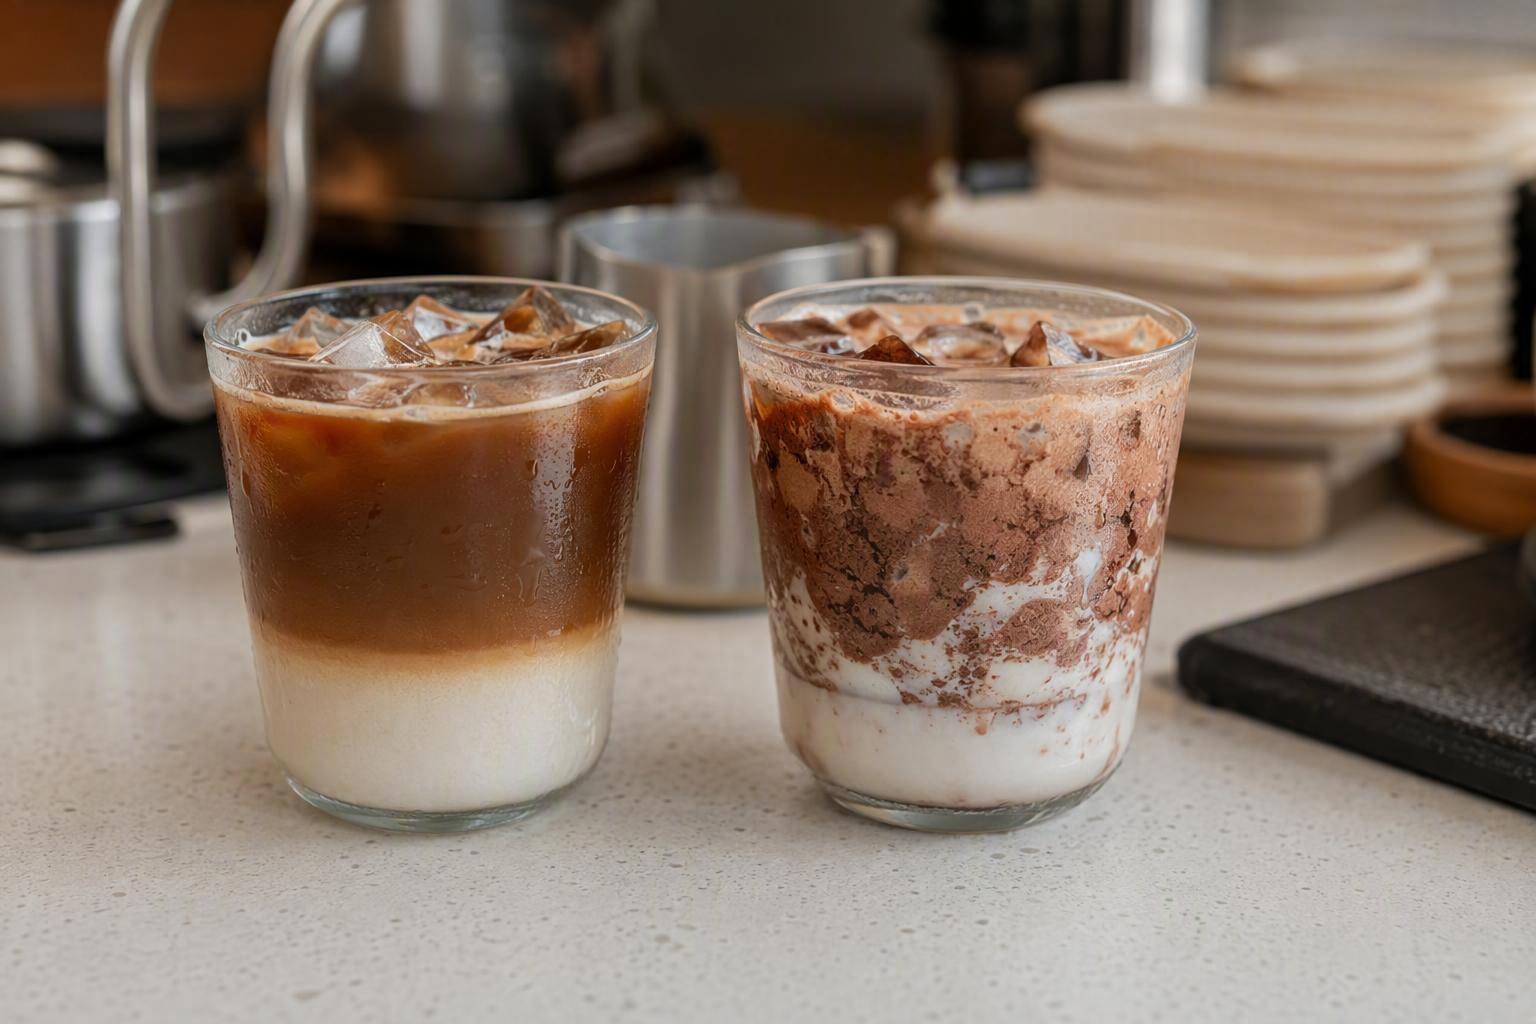
Most pistachio chocolate coconut drink failures trace to one cause: cocoa powder added straight into cold liquid, where it clumps and settles instead of dispersing. The five failure modes below cover the rest.
Cocoa without a hot pre-slurry. Cocoa powder does not wet out in cold milk or cold coconut base; it floats, then sinks as grit. Whisk it into a small amount of hot water first to form a smooth paste, then add that paste to the cold build. See why cocoa powder needs slurrying in cold drinks.
Overheating or over-holding the coconut base. Cooked, flat notes appear once the base is pushed past a gentle warm hold, and plant milks can curdle when heated hard. Follow coconut milk powder usage guidance and curdling-prevention guidance for plant milks rather than holding at temperature all shift.
Choosing coconut syrup expecting body. Syrup sweetens and aromas, but it cannot deliver the mouthfeel of a real coconut base. If the drink tastes thin, the fix is the base, not more syrup.
Under-mixing pistachio paste. Paste that is not fully dispersed leaves sweetness and flavor landing unevenly from cup to cup. Check supplier guidance on pistachio paste versus cream for the mixing behavior of the format you stock.
Misreading the allergen risk. Coconut is not a tree nut for labeling purposes, yet pistachio cross-contact is the real exposure. FDA’s food allergen labeling Q&A guidance is the reference to follow.
Key Takeaway: Slurry the cocoa hot, hold the coconut base gently, use a real base for body, mix the pistachio paste fully, and control pistachio cross-contact rather than labeling coconut as a tree nut.
Verification checkpoint: you can name the cause of each failure mode above and the single corrective action that fixes it.
Results: What a Correct Build Looks Like
If the build went correctly, you now have two verified build sheets for the pistachio chocolate coconut drink, one at 16 oz and one at 22 oz, and both should separate into three clean bands instead of muddying together. That separation is the pass/fail test. Pull a finished cup, let it sit for the hold time you set in Step 3, and look at the side of the glass: distinct pistachio, chocolate and coconut layers mean the ratios are locked. If the bands bleed, your heaviest layer is too warm or your pumps are off.
The second check is repeatability. Any staff member should hit the same gram or pump count without asking a manager, and the label copy should name pistachio as a tree nut while treating coconut correctly as a fruit, not a nut.
Once both cups pass, the stretch goal is a seasonal variant that reuses the same prep, so a second pistachio-forward build costs you almost no extra training.
Ready to put it on the menu? See the ingredient options or request a sample.
Frequently Asked Questions
Does coconut count as a tree nut for allergen labeling?
No. FDA classifies coconut as a fruit, not a tree nut, so it is not part of the tree nut major allergen category (FDA’s food allergen labeling Q&A guidance). That distinction matters on a shop menu: your coconut milk base does not trigger a tree nut declaration, but the pistachios do, and pistachios are a tree nut. Label the pistachio component clearly and keep the coconut statement separate so guests with a coconut allergy still see it disclosed.
Can coconut syrup replace a coconut milk base?
Not as a direct swap. Coconut syrup adds sweetness and aroma but almost no fat or body, so a drink built on syrup alone loses the creamy texture that carries the pistachio and cocoa. If you want to test it, use a coconut milk powder or milk base for the dairy-free pistachio chocolate coconut drink and treat syrup as a sweetener adjustment, following the coconut milk powder usage guidance for reconstitution ratios.
How long does a pre-batched coconut base hold?
Follow the manufacturer’s storage instructions on the package you buy, and hold the batch under refrigeration between services. No independent test data on pre-batched coconut base shelf life was found for this guide, so verify with your supplier rather than assuming a fixed window.
Why does the cocoa clump even after I pre-slurry it?
Cocoa powder resists cold liquid because its particles are hydrophobic, which is why cocoa powder needs slurrying in a warm or fat-based medium before it meets the cold base. Slurry it into a small amount of warm water or the pistachio paste first, then add the cold coconut base in stages while whisking.
Conclusion
You now have two build sheets for the pistachio chocolate coconut drink: a 16 oz spec and a 22 oz spec, each with locked layer ratios, prep steps, hold times and re-shake rules. You also have allergen copy that matches the current labeling requirements and a menu position that puts the drink where guests will actually find it. That is a complete, repeatable build your team can run on a busy shift without guessing.
The value is simple: one drink spec that holds its texture, its cost per cup and its label compliance from the first pour to the last.
Your next step is to see the ingredient options and request a sample, so you can test the layers against your own bar speed and price point before you commit menu space.
If you build it, share your results. Ratios that worked, hold times that failed, toppings your guests asked for: that feedback is what makes the next version of this spec better.